Open a photo straight off a camera sensor and it is millions of raw numbers — three colour values for every pixel. Save it as a JPEG and the same image occupies a small fraction of that space, often without any visible difference. That is not magic and it is not free: JPEG is lossy by design. It permanently discards information, but it is engineered to discard the information your visual system is least likely to miss. Understanding how it does that is a compact tour through some genuinely elegant ideas — and it explains, along the way, why JPEG is wonderful for photographs and terrible for screenshots of text.
The pipeline at a glance
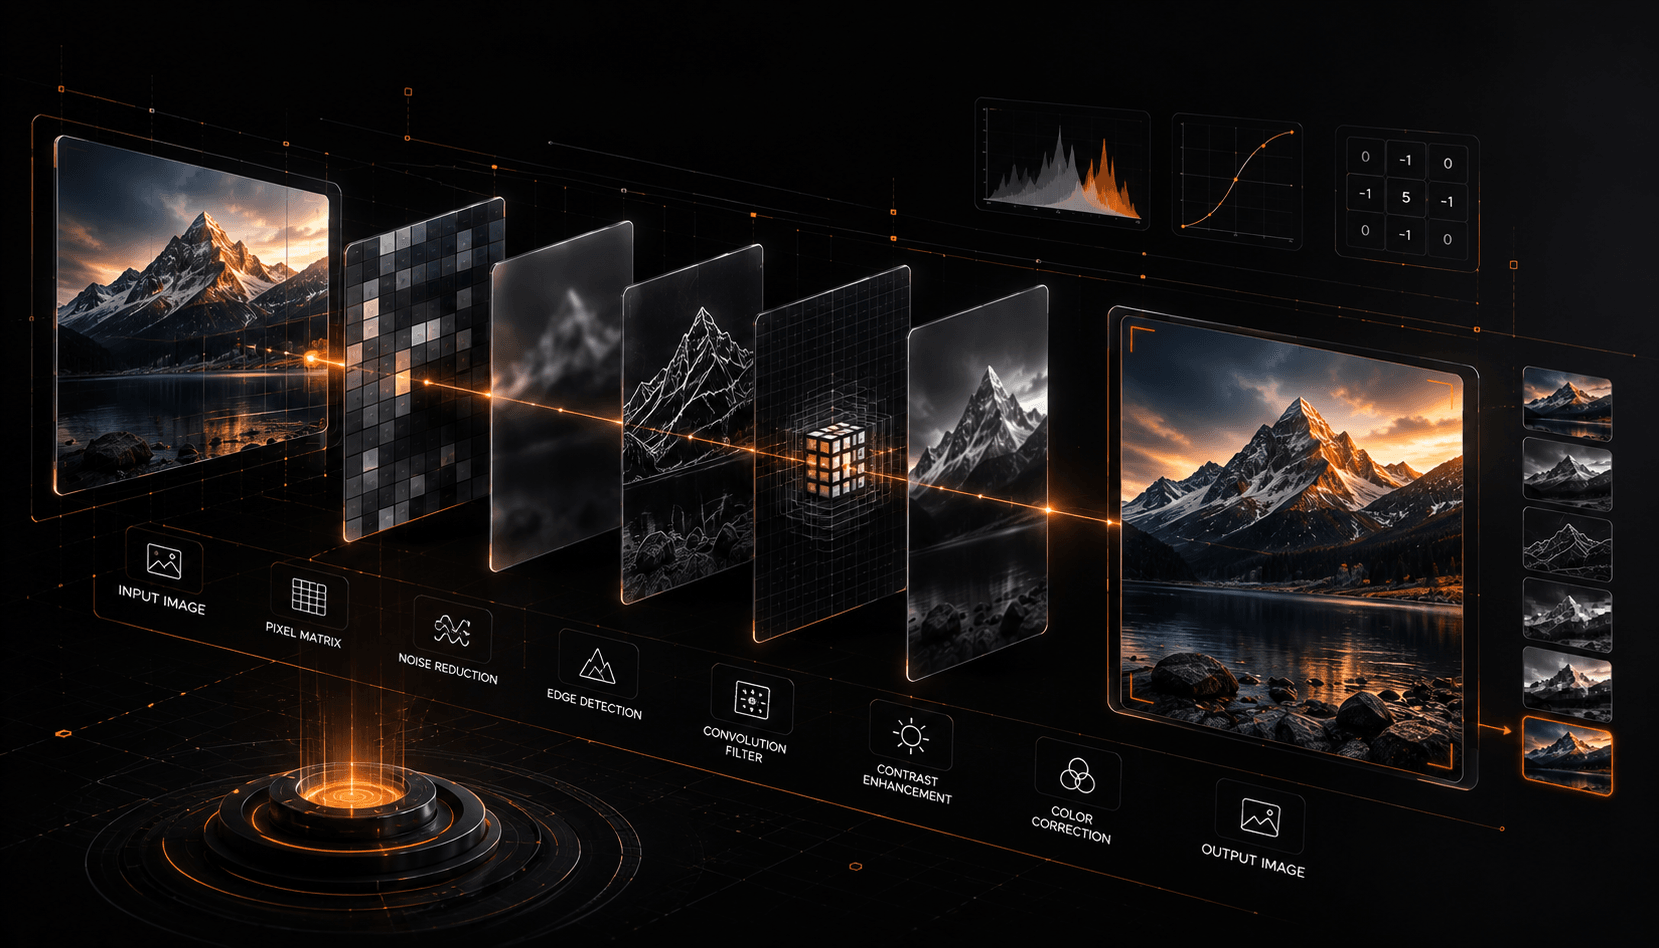
JPEG is a sequence of stages, each handing its output to the next. Only one of them actually loses information.
The rest of this article walks each stage in turn. Keep one thing in mind throughout: the goal is never to understand the picture, only to represent it with fewer bits than the raw grid needs — and to spend those bits where your eye will notice.
Step 1: separate brightness from colour
A raw image stores red, green, and blue for each pixel. JPEG's first move is to convert that into a different set of three channels: Y (luma, or brightness) and Cb and Cr (the two chroma, or colour-difference, channels). The conversion is reversible arithmetic — no loss yet.
Why bother? Because human vision is markedly more sensitive to changes in brightness than to changes in colour. Separating luma from chroma lets JPEG treat them differently, and it does: it typically stores the colour channels at lower resolution than the brightness channel, a step called chroma subsampling (you may see it written as 4:2:0). Halving the colour resolution throws away colour detail your eye largely cannot resolve anyway, and it happens before any of the frequency work below.
Luma vs chroma
Luma (Y) is how light or dark a pixel is; chroma (Cb, Cr) is its colour independent of brightness. Splitting them lets a codec spend most of its bits on the channel the eye cares about most — brightness.
Step 2: the discrete cosine transform
Now the clever part. JPEG divides each channel into small tiles — 8-by-8 blocks of pixels — and applies the discrete cosine transform (DCT) to each block. The DCT re-expresses those 64 pixel values as 64 coefficients, each describing how much of a particular cosine wave pattern is present in the block. The first coefficient (the "DC" term) is just the block's average brightness; the rest (the "AC" terms) range from broad, low-frequency gradients up to fine, high-frequency detail.
Crucially, the DCT itself does not throw anything away — it is essentially reversible. It only reorganises the same information into a form where the next step can be selective. That reorganisation matters because of how natural images behave: most blocks are dominated by their low-frequency content, so after the transform, the energy piles up in a few coefficients and the high-frequency ones are already small.
Step 3: quantization — where the loss happens
This is the only lossy stage, and it is the heart of JPEG. Each of the 64 coefficients is divided by a corresponding value from a quantization table and rounded to the nearest integer. The high-frequency coefficients are divided by the largest values — so many of them round straight to zero. The fine detail they encoded is now gone for good.
That is the whole trick: rounding away the high-frequency coefficients the eye is least likely to miss, and turning long runs of them into zeros that compress trivially. The JPEG quality setting simply scales the quantization table — lower quality means bigger divisors, more coefficients crushed to zero, a smaller file, and more visible damage.
Schematic only — illustrative, not a real JPEG table.

DCT coefficients (one 8x8 block)      After quantization + rounding
[ 236  -22   10   3  ... ]            [ 236  -22    8   0  ... ]
[  -18   12    4   1  ... ]     -->    [  -16    8    0   0  ... ]
[    9    3    1   0  ... ]            [    8    0    0   0  ... ]
[  ...                    ]            [  ...  mostly zeros ...  ]

Low frequencies (top-left) survive; high frequencies (bottom-right)
are divided hardest and collapse to zero.
Push quality low enough and the damage becomes visible in two characteristic ways: blocking, where the 8-by-8 tile boundaries show up as a grid, and ringing, faint echoes near sharp edges (the transform struggles to represent a hard edge with a few smooth cosine waves).
Step 4: entropy coding
What survives quantization still has to be packed efficiently — and this final stage is lossless. JPEG reads each block's coefficients in a zig-zag order that runs from the low-frequency corner to the high-frequency corner, which tends to group all those newly created zeros together at the end. Long runs of zeros are then run-length encoded, and the result is Huffman coded so that common values use fewer bits. Nothing more is lost here; it is pure packing of what quantization left behind.
The trade-offs
JPEG is superbly matched to one job and poorly matched to others.
Pros
- Excellent for photographs and other smooth-toned, continuous images.
- A single quality dial trades file size against fidelity across a wide range.
- Universally supported — every browser, camera, and OS reads it.
Cons
- Lossy, so it is a poor fit for text, line art, screenshots, and sharp-edged graphics, where ringing and blocking are obvious.
- Generation loss: every re-save re-quantizes and degrades the image further.
- No transparency (alpha) channel, unlike PNG.
Match the format to the content
Reach for JPEG when the image is photographic. Reach for a lossless format such as PNG when you need crisp edges, text, or transparency — a screenshot saved as JPEG will look muddy at exactly the edges you care about. See MDN's format guide (below) for a fuller decision tree.
Practical takeaway
JPEG earns its longevity by spending bits where your eye looks and skimping where it does not: it splits brightness from colour, subsamples the colour, transforms each block into frequencies, and then — in the one lossy step — rounds away the high-frequency detail the human visual system barely registers. When you drag a "quality" slider, that is the step you are tuning. Knowing that, two practical habits follow: keep a lossless master and export JPEGs from it rather than re-saving JPEGs (to avoid generation loss), and never use JPEG for the images — text, diagrams, UI — whose sharp edges are exactly what it is built to blur.
Sources & Further Reading
- 01ITU-T T.81 — Digital Compression and Coding of Continuous-Tone Still Images (the JPEG standard) — ITU-T / ISO-IEC, 1992The primary JPEG specification.
- 02JPEG — official committee site — Joint Photographic Experts GroupThe standards body behind JPEG and its successors.
- 03Image file type and format guide — MDN Web DocsPractical guidance on when each image format fits.
Editorial note — A conceptual explainer of the standard JPEG/DCT compression pipeline. The quantization example is explicitly schematic and illustrative; no real quantization-table values, compression ratios, or benchmark figures are quoted.